
Shopify is an excellent choice for new businesses, but as your shop grows, its drawbacks can become obvious. Perhaps you wish you’d opted for a more flexible eCommerce platform like WooCommerce. However, starting from scratch doesn’t exactly sound appealing.
Fortunately, that isn’t your only option. You can easily migrate from Shopify to WooCommerce without having to start all over.
In this post, we’ll discuss the benefits of migrating to WooCommerce and share some tips to help you prepare for a smooth, risk-free move. Then, we’ll show you how to transfer your online store from Shopify to WooCommerce in five easy steps. Let’s get started!
Why You Might Want to Choose WooCommerce Over Shopify
WordPress is one of the most popular Content Management Systems (CMSs), powering over 40 percent of websites worldwide. This software enables you to build any type of website, including online stores. It comes with several eCommerce tools, including WooCommerce:
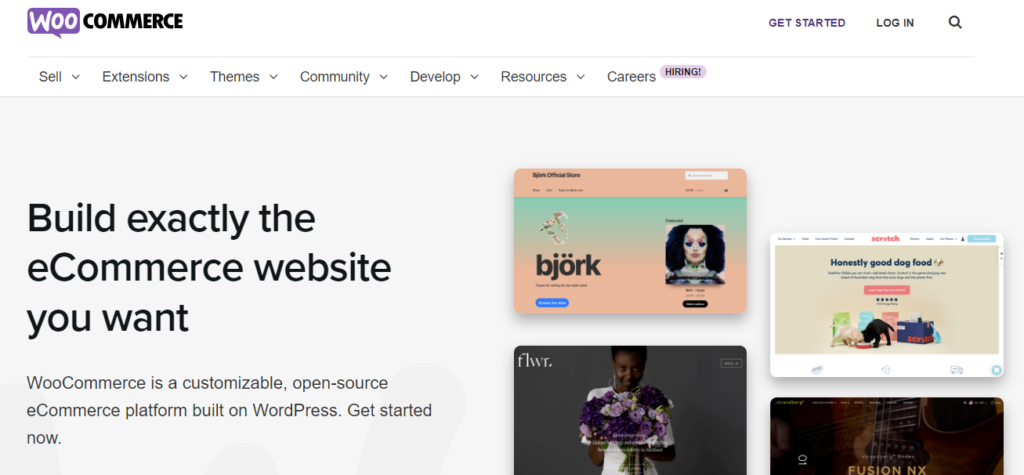
Unlike Shopify, WooCommerce is open-source. This means that you have more control over the customization of your store.
WordPress offers a multitude of themes and plugins to choose from, enabling you to modify your site’s design and functionality. You can even hire web developers to create a unique eCommerce tool for you.
Although Shopify offers a hassle-free service, it comes at a cost. Monthly fees, add-ons, and transaction fees quickly mount up. WooCommerce, on the other hand, is completely free. You’ll just need to pay for WordPress hosting and your domain name.
Once you convert from Shopify to WooCommerce, you can take advantage of the different payment gateways on offer. You’ll also get access to shipping options, label printing, tax calculations, and more.
What to Consider Before Migrating from Shopify to WooCommerce
If you’ve decided to create a WooCommerce store on WordPress, you’ll need to find a hosting provider. Fortunately, many web hosts offer plans that are specifically designed for these platforms.
It’s also important to back up your store’s data, just in case something goes wrong during the migration process. Shopify doesn’t offer full backup functionality, but you can export your product data in CSV format.
However, you won’t be able to back up the rest of your store. Therefore, you might want to use a backup tool such as Rewind Backups.
How to Migrate from Shopify to WooCommerce (In 5 Steps)
Now that you’ve backed up your store, it’s time to migrate from Shopify to WooCommerce.
Step 1: Install WordPress and WooCommerce
You have two options when it comes to installing WordPress. The first method is to set it up manually by downloading the software from WordPress.org. This requires a bit of technical knowledge, but there are detailed tutorials online to help you.
Your second option is to choose a managed WordPress host. Usually, your hosting provider will automatically install WordPress for you.
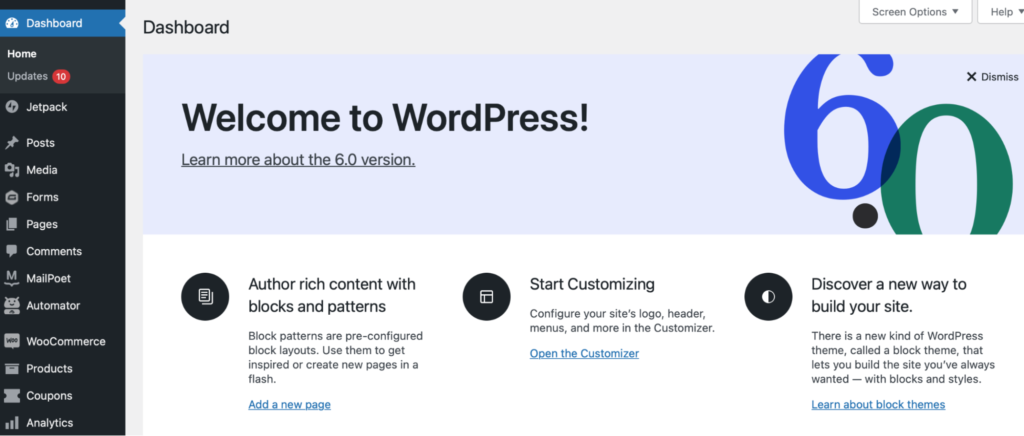
Once WordPress is installed, you can access the dashboard through your hosting account. Here, you can manage the content, settings, and design of your site:
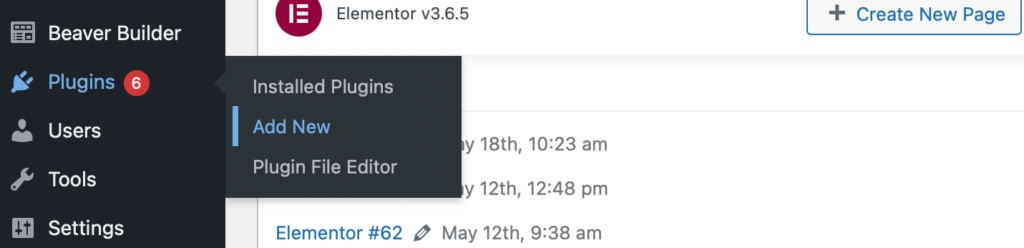
To transform your site into an eCommerce store, you’ll need to install WooCommerce. You can do this by navigating to Plugins from your dashboard and selecting Add New.
Next, you can search for “WooCommerce”:

Click on Install Now, followed by Activate. WooCommerce will then take you through a brief setup process, where you’ll need to enter some details about your store and products.
Step 2: Export Your Shopify Products
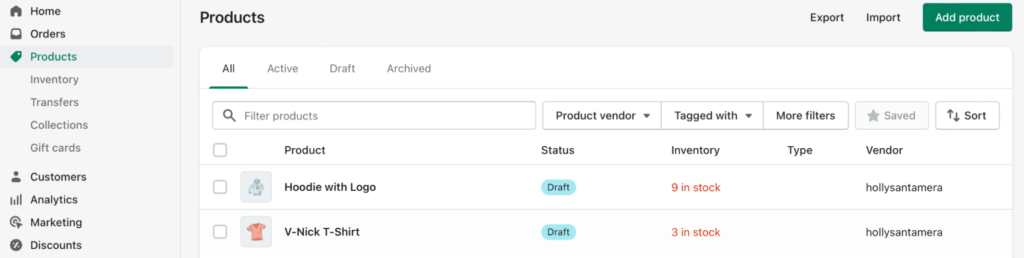
Next, you’ll need to export your products from Shopify. To get started, head over to your Shopify account and click on Products > All:
To export your entire product catalog in CSV format, select Export at the top of the screen. Under Export, tick All Products. Then, under Export As, choose CSV for Excel, Number, or other spreadsheet programs:
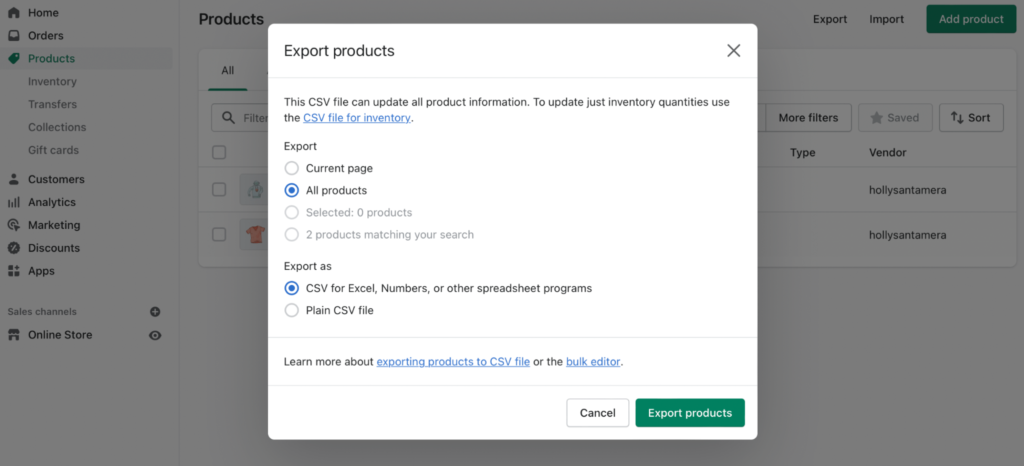
Finally, click on Export Products. Shopify will then send the exported CSV file to your email address. Once you receive the email, you can download the file to your computer.
Step 3: Import Your Shopify Data into WooCommerce
There are three ways you can import your Shopify data into WooCommerce. Firstly, you can use a plugin such as Import Shopify to WordPress. Alternatively, you can use a migration service, which will enable you to import data that wasn’t included in the CSV files.
Let’s take a close look at the first option. Note that this only transfers your product data.
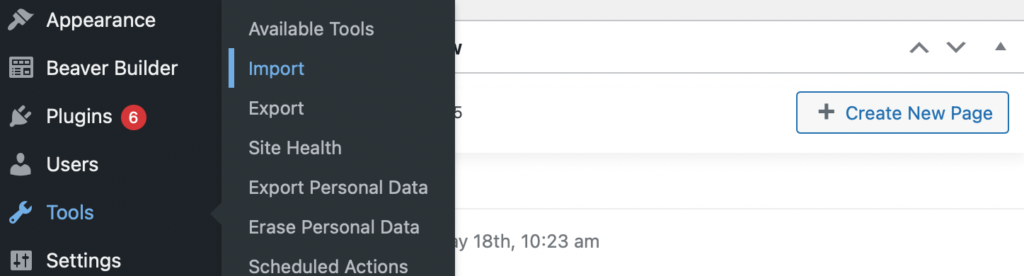
In your WordPress dashboard, navigate to Tools > Import:
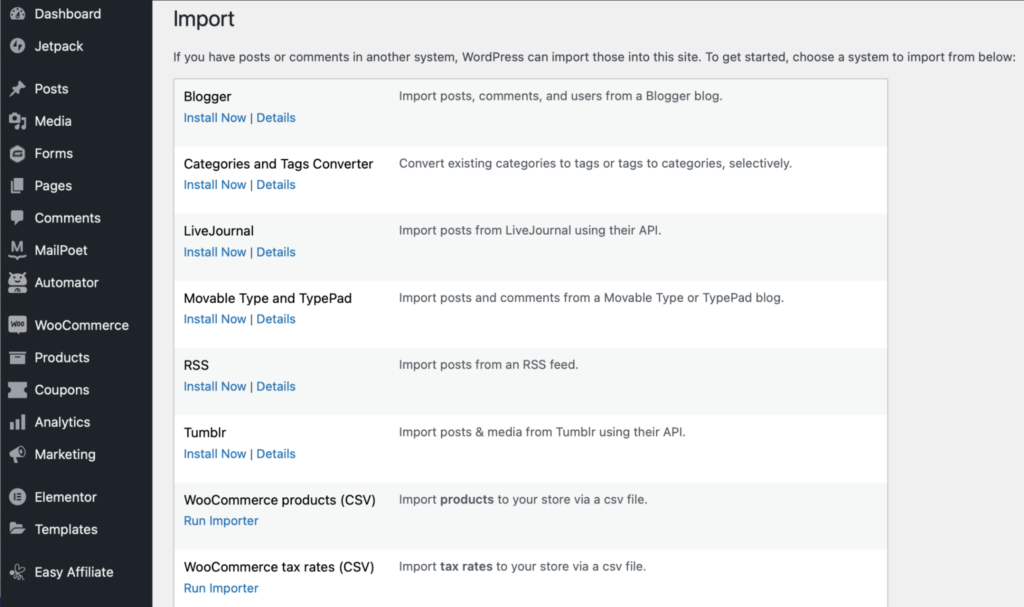
Then, look for the WooCommerce Products (CSV) option and click on Run Importer:
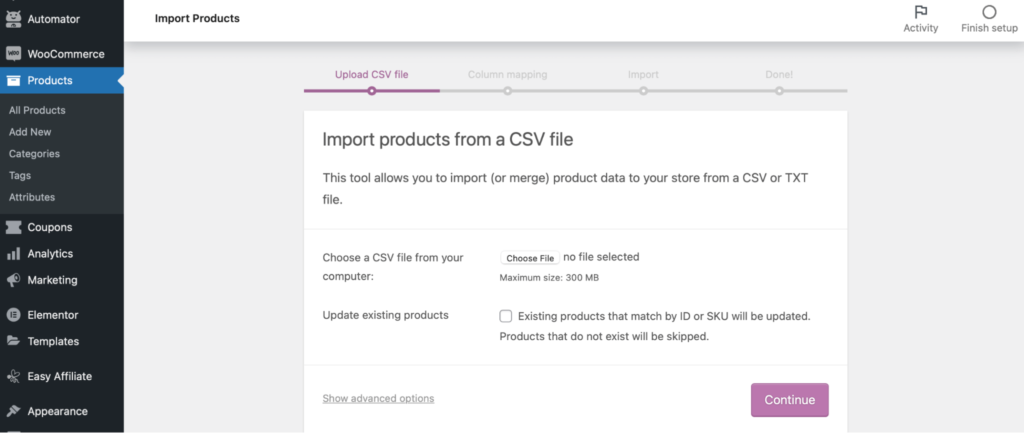
Next, click on Choose File to import the CSV file that you downloaded from your email. You can leave the Update existing products box unchecked. Then, click on Continue:
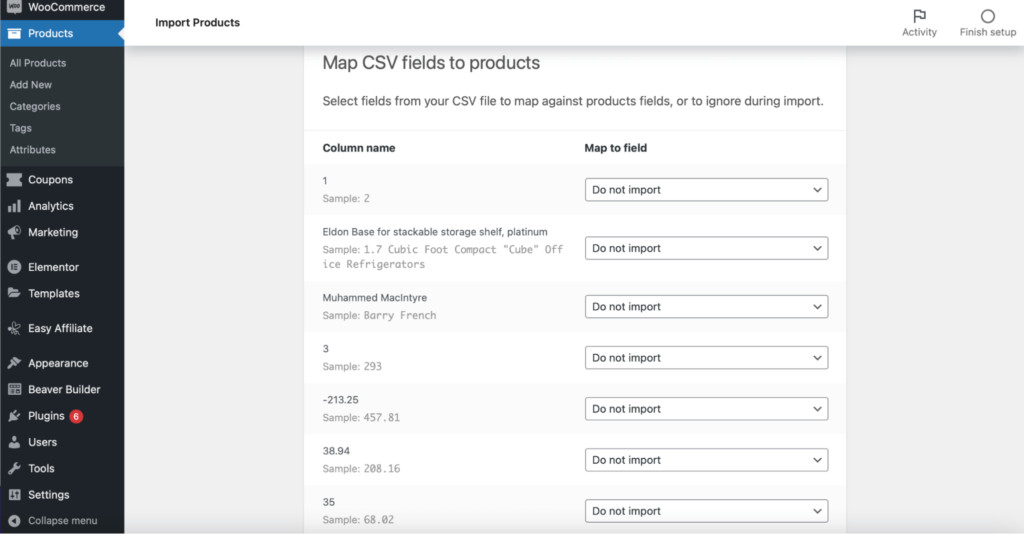
The next screen will match your CSV product files to WooCommerce fields. It will show you different options, so feel free to go through the list and choose what to include and what to leave out:
When you’re ready, click on Run the importer to import the data. You can then check your entries by navigating to Products > All Products in your dashboard.
This method won’t import your product images, so you’ll need to add these manually. To do this, head to Products in your WordPress dashboard. Then, find the product that you’d like to add an image to and select Edit.
On the next page, locate the Product image section and click on Set product image:
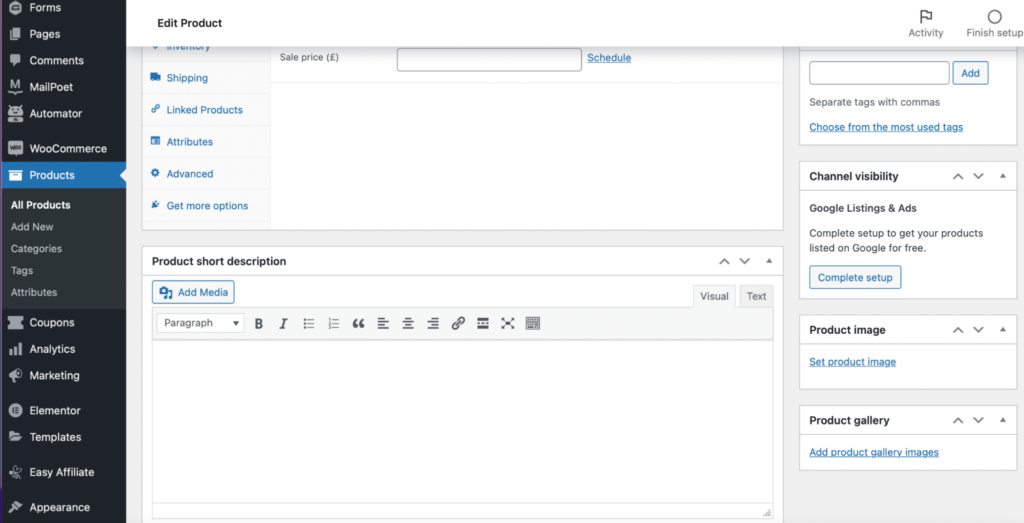
You can then upload the image file from your computer. In the Media Library, confirm the image and click on Set product image. Remember to save your changes when you’re ready.
Step 4: Customize Your WooCommerce Store
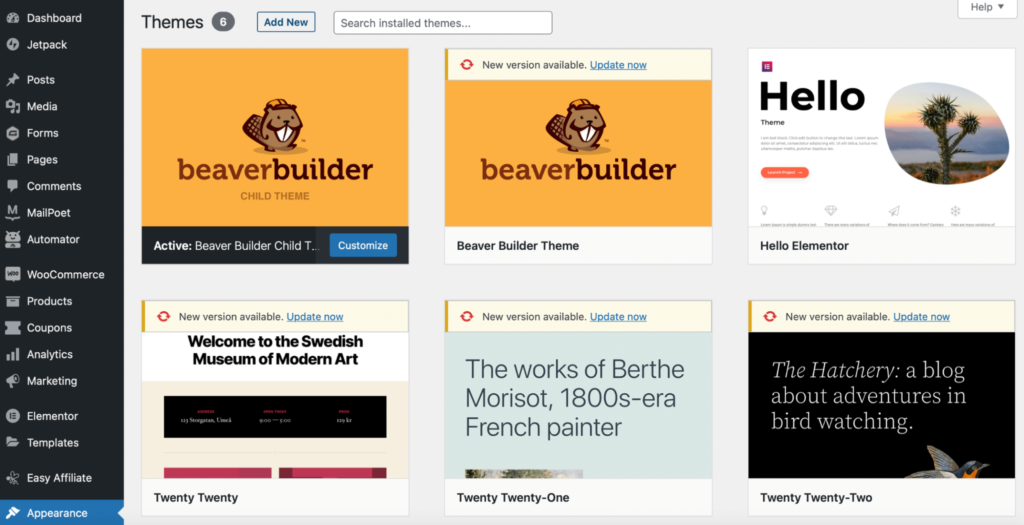
Once you’ve imported your products, you can start customizing your store. There are thousands of WordPress themes that can help you design a unique site.
You can choose a theme by navigating to Appearance > Themes > Add New:
Additionally, you can use the WordPress Block Editor to customize the pages for your shop. WooCommerce offers a range of blocks that you can use, such as the Top Rated Products block, Reviews by Category, Product Search, and more.
You can access these blocks by opening the page you want to edit or creating a new one:
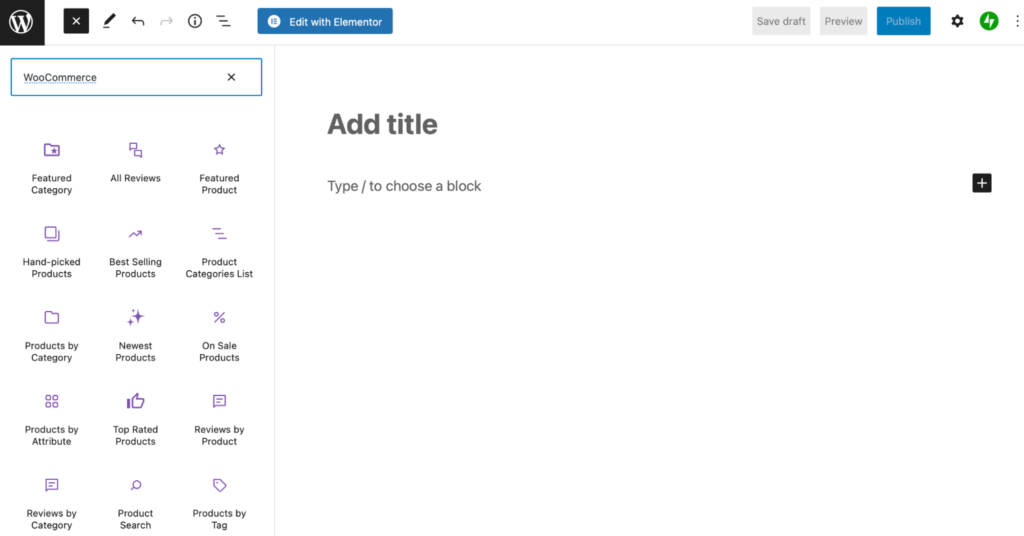
Then, click on the plus sign (+) to add blocks and search for “WooCommerce”. Select the block you’d like to use and drag it onto your page:
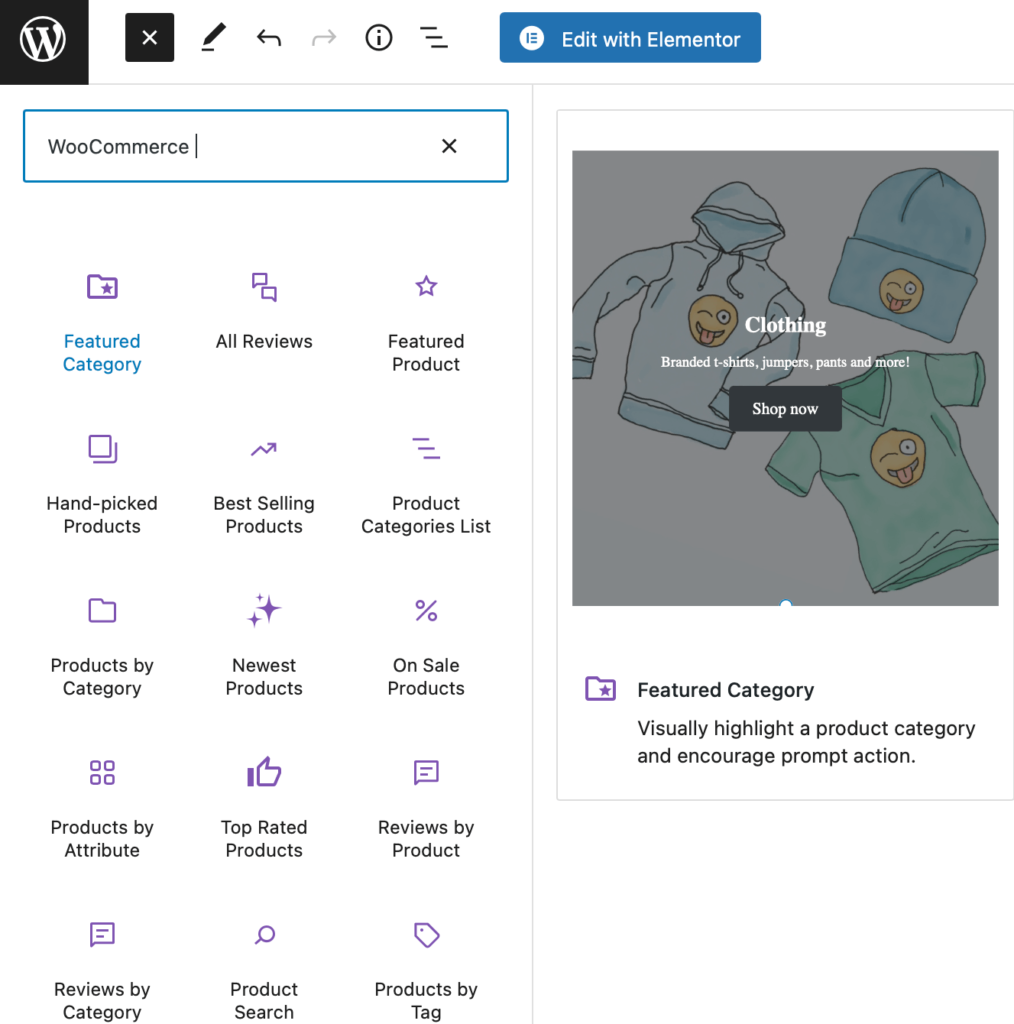
You can then click on the block to customize it. For instance, you can change the colors and typography, and add more features.
Step 5: Set Up Your Redirects and Permalinks
Currently, your domain is still pointing to your Shopify store. You’ll want to redirect this to your new web host so you don’t lose traffic. This process will depend on how you registered your domain.
If you use a domain registrar, you can update your records there. If you registered your domain directly through Shopify, you’ll need to edit your DNS settings in your account. You can go to Online Store > Domains to manage these settings.
If you use a web hosting service, you might be able to update your domain records from your hosting account. You can also contact your web host for assistance.
Next, you’ll need to change your permalinks. A permalink refers to the structure of your links. WordPress will set you up with a default URL. Normally this isn’t user-friendly, and can result in poor Search Engine Optimization (SEO).
In your WordPress dashboard, head to Settings > Permalinks and scroll down to Product permalinks:
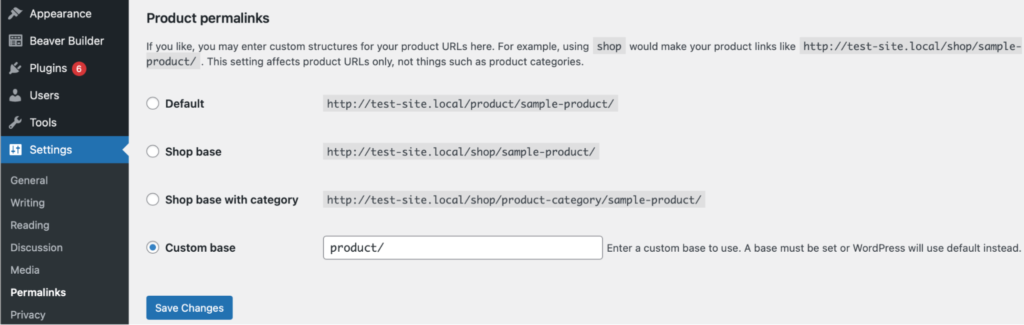
Select the option you’d like to use and save your changes. We recommend that you choose a simple structure to make your URLs more SEO-friendly.
It’s best to configure your permalinks before you launch your WooCommerce store. If you leave this till later, it can have a negative impact on your search engine rankings.
Conclusion
WooCommerce is a powerful eCommerce solution that enables you to build a fully-functional store in WordPress. Fortunately, you can migrate from Shopify to WooCommerce without much hassle. To get started, you just need to back up your data and select a hosting provider.
To recap, here’s how to transfer from Shopify to WooCommerce in five easy steps:
- Install WordPress and WooCommerce
- Export your Shopify products
- Import your Shopify data into WooCommerce
- Customize your WooCommerce store
- Set up your redirects and permalinks
Are you ready to make the leap to WooCommerce? Our website developers can get the migration process started.